Home Improvements to Increase Value for Resale
Are you preparing your home for sale and wondering what home improvements add the most value? Here are seven ways to increase your home's value for resale!
When preparing to sell your home, strategic improvements can significantly impact your final sale price and time on market. The difference between a home that lingers for months with multiple price reductions and one that sells quickly at or above asking price often comes down to smart preparation before listing.
Not all home improvements are created equal. The key is understanding your local market and making improvements that resonate specifically with Raleigh buyers.
Whether you are planning to list next month or next year, the improvements you make today can dramatically affect your bottom line tomorrow. Some upgrades require significant investment and planning, while others can be completed in a weekend for minimal cost.
The tips we will discuss in the article are low-cost ways to net more money on the sale of your home. If you're preparing your home for sale, you'll want to ask questions and be sure to pay attention to the tips in this article that will help you maximize the return on your investment.
Here are seven home improvements if you are selling your home
1. Deep Cleaning
A professionally deep-cleaned home is not just tidy; it signals to buyers that the property has been maintained and well taken care of. Cleaning your home is the most cost-effective way to maintain its condition.
Many buyers will walk in and out in a matter of seconds if the house is not clean. Hiring a cleaning team once a week or maintaining the cleanliness of your home yourself is extremely inexpensive when you consider the return on investment.
Focus on often overlooked areas like grout lines, light fixtures, window tracks, and inside cabinets. Do not forget about ceiling fans, baseboards, and air vents, which accumulate dust that buyers notice during showings.
Consider having carpets professionally steam-cleaned and treating any pet odors with enzymatic cleaners rather than air fresheners, which can raise red flags for buyers.
By cleaning your home and ensuring it's spotless, you give yourself the best opportunity to sell and increase its value. This will ensure you are doing what it takes to get the highest amount for the sale of your home and increase your chances of selling it.
Cleaning is one of the most cost-effective improvements on our list, typically costing $120 to $250 for professional services.
.png)
2. Landscaping
First impressions begin at the curb, and thoughtful landscaping creates an emotional connection before buyers enter your home. Your kids should help when selling your home.
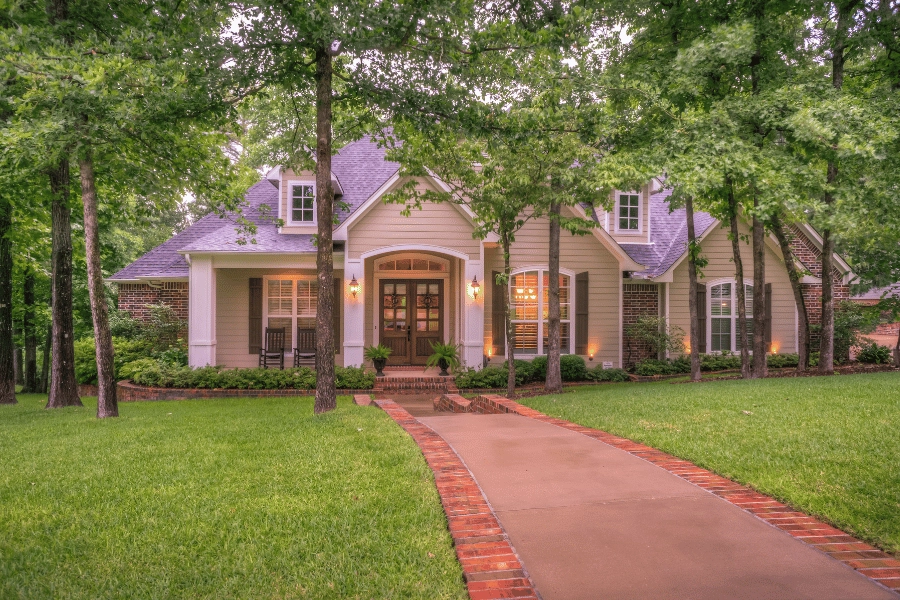
A well-landscaped home will improve the home's condition and curb appeal, directly influencing the home's price. Fresh mulch, defined flower bed edges, and strategic plantings that provide year-round color make your property memorable in a sea of listings.
In Raleigh, choose native plants like azaleas, Carolina jessamine, and coneflowers that thrive in the area's humid-subtropical climate with minimal maintenance.
Remove any overgrown foundation plantings that make homes look dated or obscure architectural features. Consider adding container gardens near the entrance with seasonal blooms for that "move-in ready" appeal.

3. Fresh Coat of Paint
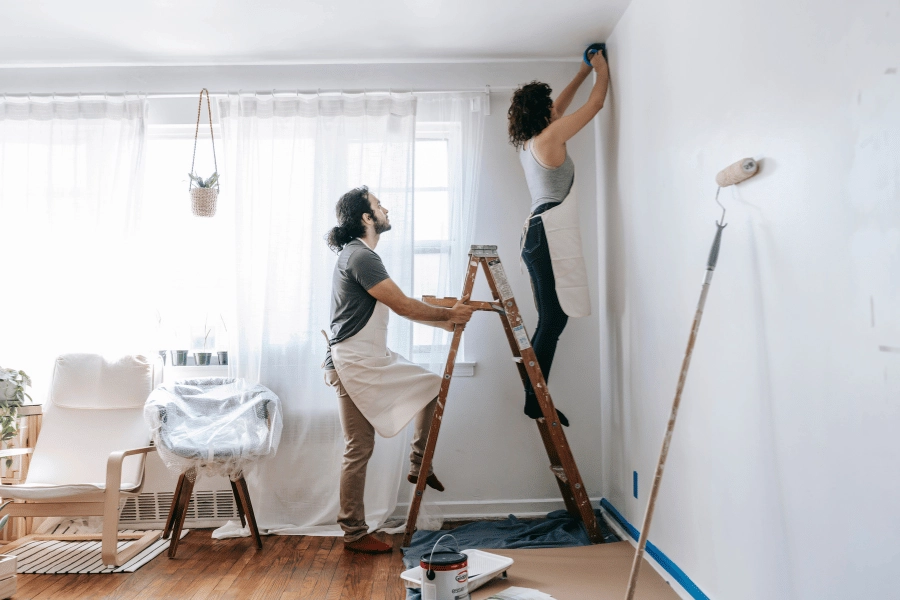
A great way to improve the value of your home is by adding a fresh coat of paint. Nothing refreshes a home quite like paint, and painting both the interior and exterior adds a great look for buyers.
The right neutral palette makes spaces feel larger, brighter, and move-in ready while allowing buyers to envision their own style. Focus on eliminating bold accent walls and updating any yellowed or dingy white trim.
A fresh exterior coat in a timeless color scheme can dramatically boost curb appeal. Don't overlook the front door; a freshly painted or stained entry door in a classic color like navy, black, or deep red creates an inviting focal point.
In a recent survey, 61% of experts suggested white paint as the top choice for selling. Interior painting typically costs $2-6 per square foot and can return 50-100% of the investment. Exterior painting ranges from $1.50-4.00 per square foot with returns up to 55%.
4. Adding a Deck
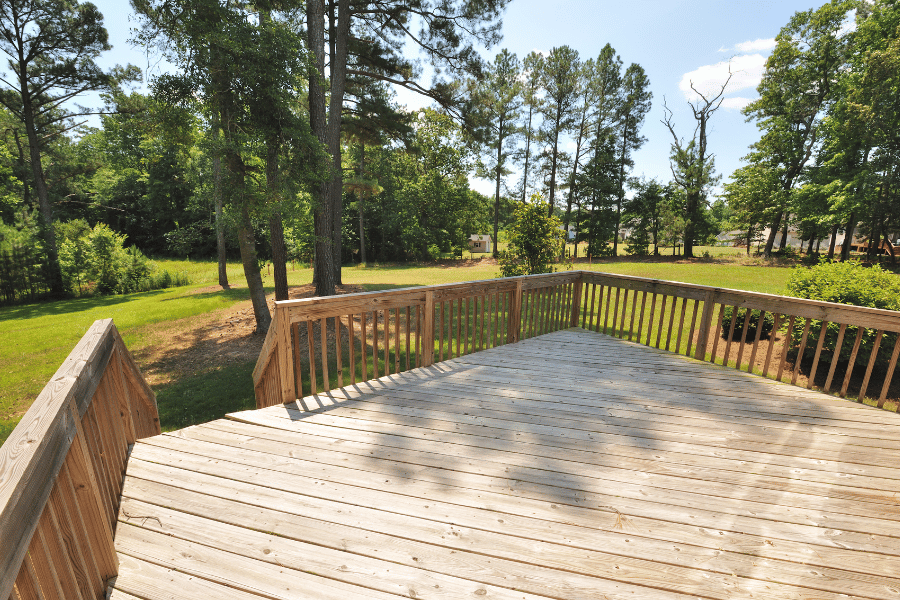
Having a beautiful outdoor living space is highly desirable. A well-designed deck extends your home's functional square footage and creates an entertainment space that resonates with buyers who value both an indoor and outdoor space.
Adding a deck/outdoor patio does several things. It adds value by giving you an outdoor living space. Something other homes you are competing against may not have.
When building an outdoor living space to add value to your home, you'll want to be careful of a few things. Like the other tips, you do not want to price your home outside of its neighborhood value, so consult a top local Real Estate Agent for advice.
Ensure privacy in your outdoor living space. If you feel like everyone can see you, you're a lot less likely to use the deck.
You will want to be sure the patio you design is not too small or too big. The right-sized patio will maximize the return on your investment and give you a great opportunity to sell your home for more money.
Any home addition, like a patio, finished attic, or basement, will have a high return on investment. Deck additions typically cost $15-35 per square foot, with composite materials at the higher end. Expect a 60-80% return on investment.
Consider composite decking materials that withstand our humid summers and occasional harsh winters without the constant maintenance wood requires. Include thoughtful features like built-in seating, adequate lighting for evening use, and potential for a future screened porch conversion.
Know your local neighborhoods and real estate markets. Homes for sale in Cary often come with great outdoor living spaces that improve their value.
At the very least, an outdoor living space will make your home more desirable and allow you to recoup the cost. The neighborhood will dictate whether or not a patio makes sense.
5. Strategic Room Remodeling
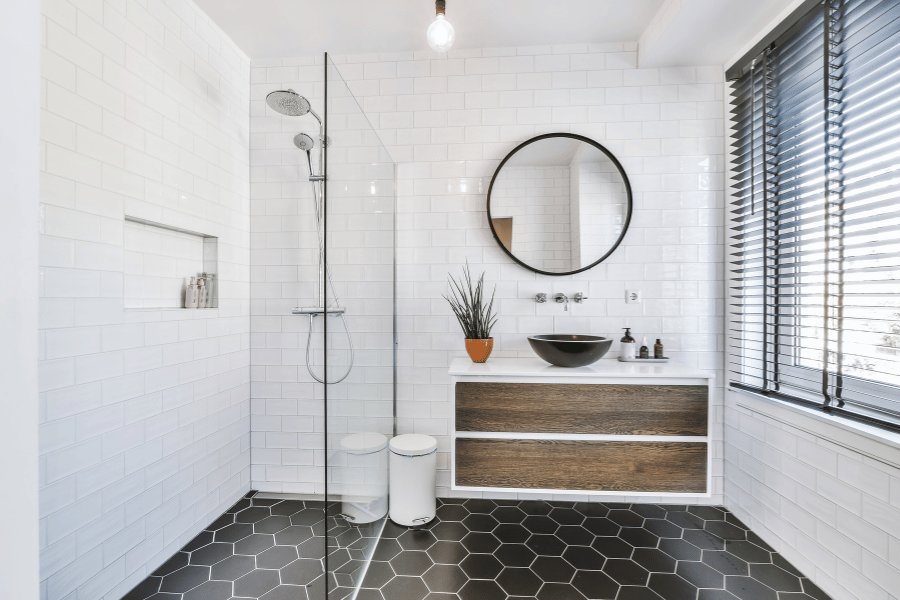
While full gut renovations rarely recoup their costs, strategic remodeling of kitchens and existing bathrooms delivers strong returns. Focus on updates that feel modern without being trendy, such as classic subway tile, shaker cabinets, and quality fixtures.
Homes with an open floor plan have the advantage of increased home value. To increase your home's value, we recommend remodeling the kitchen, family area, and bathrooms.
The most important parts of any home are the kitchen and the family area, mainly because a lot of time is spent in these two rooms. When you are entertaining guests, they are most likely to be in your kitchen and family room while inside the house. Adding a fireplace or new appliances can also significantly boost your home's value.
In kitchens, open shelving, large islands with seating, and stainless steel appliances appeal to younger buyers. Quartz countertops tend to outperform granite for their durability and low maintenance.
In bathrooms, walk-in tile showers are more desirable than tub-shower combinations, though keep at least one tub if you have a family-oriented home. Consider adding USB outlets and smart home compatibility.
Minor kitchen remodels (new counters, cabinet refacing, updated fixtures) cost $15,000-25,000 with 70-80% ROI.
6. Bathroom Addition
If your home has more bedrooms than bathrooms, adding a bathroom is one of the most impactful improvements you can make. The golden ratio buyers seek is a bathroom for every bedroom, plus one.
Adding a bathroom can add serious convenience for your buyers. Other than the kitchen, the bathrooms have become important to buyers, especially the location inside the home. A bathroom addition can increase your home value by 54%.
Many older Raleigh homes in established neighborhoods like Mordecai, Oakwood, or Five Points have just one or two bathrooms despite having three or four bedrooms. Converting unused closet space, a small bedroom, or part of a large primary bedroom into a bathroom can dramatically expand your buyer pool.
Even a well-designed powder room on the main level adds significant appeal for entertaining. Consider water-efficient fixtures and proper ventilation fans to handle our humidity.
When adding a bathroom, make sure to consider plumbing. This is probably the main factor in determining what the cost is going to be to add a bathroom. You don't want a plumber spending hours inside your home working on pipes, or your bill will run up fast.
Also, don't go crazy on your home compared to your neighbor's. Know the value of your neighborhood and where your home stands when compared to others. Listen to your local experts and determine if a bathroom addition makes sense for your home sale.
If you cannot afford a new bathroom, the best thing to do is give your current bathroom a facelift with paint and freshen it up in any way possible. It will certainly help the home show better.
7. Energy Efficient Improvements
Today's buyers care about utility costs and environmental impact. Energy-efficient upgrades not only reduce monthly expenses but also signal that your home is well-maintained and move-in ready.
Remodeling for energy efficiency can make a big difference in resale value as more and more people are asking for clean power sources and green features in their homes.
It is not just a great choice for luxury homes. From solar panel installation to HVAC conversion, which involves changing a fossil-fuel-burning furnace to an electric heat pump, there are plenty of ways to lower monthly utility bills and increase the overall sustainability of your home.
Consider a programmable or smart thermostat, LED lighting throughout, and Energy Star appliances. Solar panels are gaining traction, though ensure installation is done by reputable companies with transferable warranties.

Methodology
Data was sourced from Task Rabbit and How Stuff Works to determine the best home improvements to add value for resale.
FAQs
What home improvements increase value the most?
Many improvements increase home value, including a kitchen remodel, upgraded appliances, swimming pools, luxury upgrades, and an attic or basement remodel.
What is the 30% rule for renovations?
The 30% rule for renovations says that you should never spend more than 30% of your home's value on remodeling any single space.
How to increase your home value by $50,000?
The best way to increase your home value by $50,000 is to focus on high-return projects, including kitchen and bathroom remodels and improving energy efficiency.
Home Improvements - Final Thoughts
Not every home needs all seven improvements. At Raleigh Realty, we recommend starting with cleaning and painting. These universal upgrades benefit every property. From there, evaluate which improvements address specific deficiencies in your home or capitalize on strengths.
If you have kids or pets and are trying to sell your home, cleaning may be more difficult, but it is still an absolute must. Mowing the lawn and painting the house are two other ways to guarantee your home is ready to impress buyers and sell fast.
These home improvements will surely please buyers and benefit you in the long run, especially in a low inventory market. If you're considering remodeling your home to improve its value, be careful not to overspend.
Sometimes the difference between a home that sits and one that sells quickly for top dollar comes down to making smart, strategic improvements that resonate with Triangle buyers.
Ready to discuss which improvements make sense for your home? Contact Raleigh Realty today for a personalized consultation and market analysis.
