How To Finish a Basement: A Step-by-Step Guide
Are you thinking of finishing your basement but unsure where to begin? Here is a step-by-step guide to help you through this project.
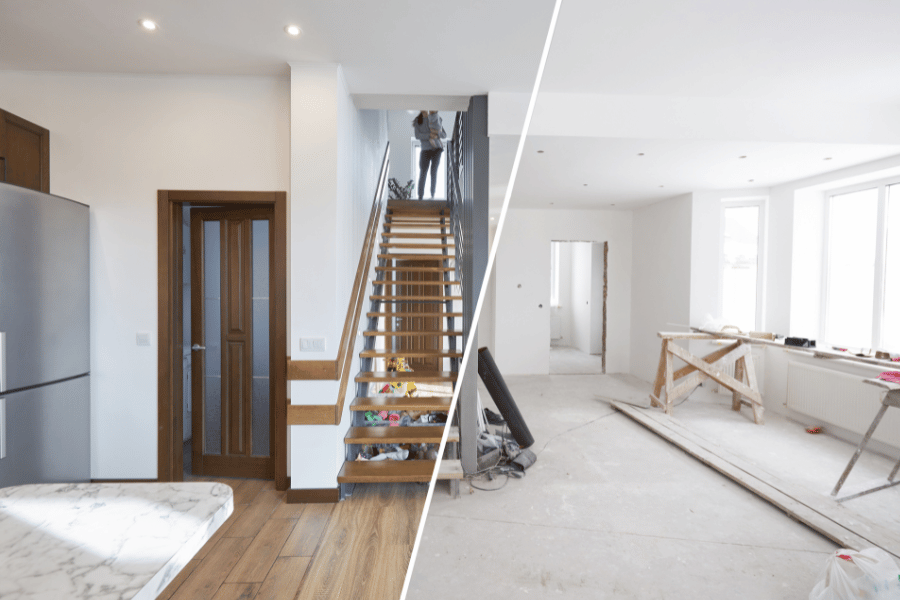
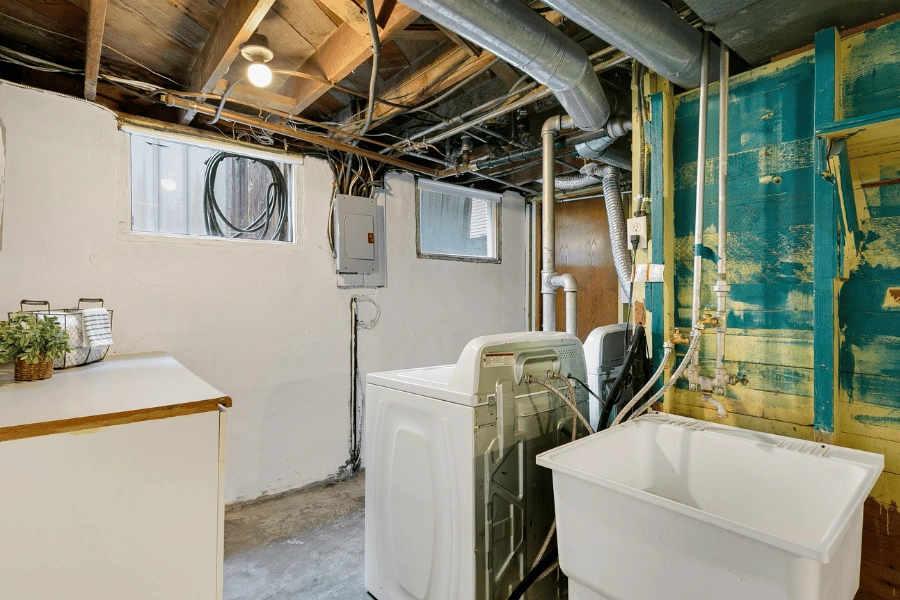
Transforming your basement can significantly enhance your home's usable space, providing excellent possibilities for additional bedrooms, a family room, a home office, or even a laundry area. While remodeling costs can differ based on size and layout, envisioning the potential of this underutilized area makes it a worthwhile investment.
Everyone wants more space if they can have it. If you have a basement that is not finished, putting in a little bit of work can go a long way and give you that space you need affordably. There are costs associated with it; however, there are many ways you can save up to afford this project.
The National Association of Realtors (NAR) Remodeling Impact Report indicates that homeowners can recover about 64% of basement finishing costs when selling their home, making it an appealing project for many.
Using exceptional framing and insulation techniques, you can make your basement as comfortable as any other room in your home. Remember that this is a significant project, so understanding the costs and all the factors involved is essential. Continue reading for a step-by-step guide to help you better understand the process.
Here is how to finish a basement step-by-step.
1. Tools Needed
Before you drive into the project, you need to know what tools you have and what ones you will need for this specific project. The size of your basement will determine how much material you need, so ensure you get the exact square footage.
Here are some tools and materials you will need to finish your basement.
- Safety Gear
- Ladder
- Hammer
- Level
- Tape Measure
- Caulk Gun
- Masonry Drill
- Circular Saw
- Nail Gun
- Utility Knife
- Boards
- Foam Insulation
- Framing Nails
- Wall Screws
- Cement Nails
- Adhesive
- Ceiling Tiles
- Flooring Materials
2. Preparation
Plan
Before you jump right in, you need to prepare for this project. A lot goes into finishing a basement, so you need to have a plan. Before you get started, some things to consider when planning are the structural integrity of your existing plan, budget and time, local building codes, and electrical and plumbing. Never jump into a project without having a comprehensive plan.
Permits
You might need to apply for a permit before starting the construction. Check with local building codes and zoning requirements to see if your project requires a permit. These codes govern all aspects.
If you fail to adhere to building codes, then it might result in fines and legal complications. It could also mean your home insurance will not cover any damage that occurs during the renovation.
3. Address Moisture Issues
If you notice a musty smell, it may be a sign of excess moisture in your space. Addressing this concern quickly is crucial, as unchecked humidity can lead to more significant issues and potential damage. To tackle the problem effectively, the first step is to identify the source of moisture in your basement.
Placing a square plastic sheet against the wall is a simple method to determine moisture origin. Observing condensation forming on the front after a few days suggests the moisture comes from inside your home. Conversely, if moisture appears on the back, it is likely coming from outside.
To control indoor moisture levels, maintain proper ventilation around dryers, showers, and humidifiers. If you find outdoor moisture seeping in, consider implementing one or more solutions to protect your home and create a more comfortable environment.
- Grading the direct stormwater away from your home
- Installation of exterior drainage system
- Installation of interior drainage system
- Repair wall cracks
4. Clean it Out
Most people who have basements use the area for a stage. Before you start the project, make sure you downsize and clean out the workspace by sorting items into keep, donate, and throw away.
You can start by relocating your items to other areas of the house. If you don't have any additional storage space, you can also consider self-storage units or more cost-effective options.
5. Insulate the Walls
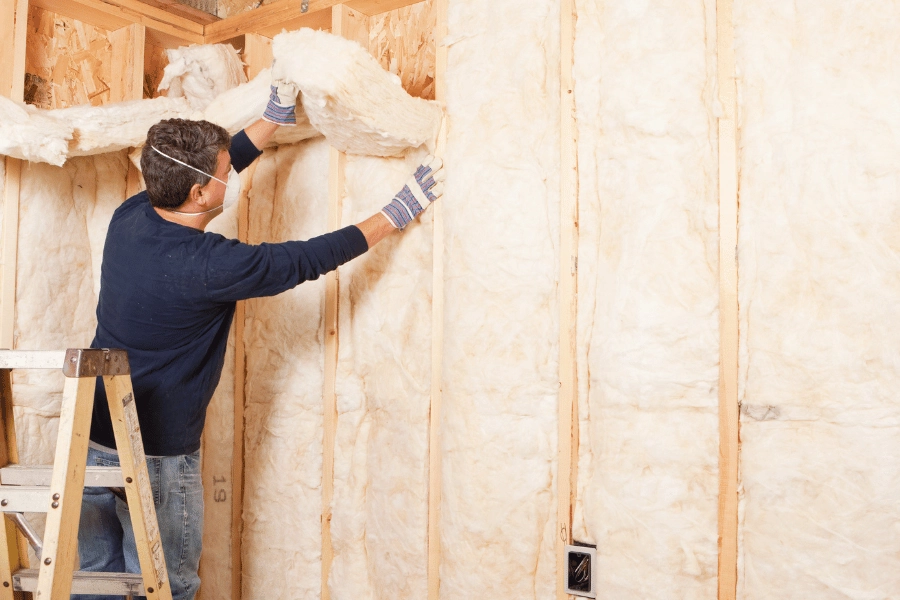
If you want to use your basement as a comfortable place, you want to insulate the walls. To regulate the temperature and moisture level of the basement, add insulation. The easiest way to do so is to use polystyrene foam board insulation. Here is how to do so:
- Measure the walls to determine the amount of insulation needed
- Use a utility knife to cut the foam insulation to fit
- Apply construction adhesive to the back of the insulation boards and press firmly to leave no gaps
- Wait according to the instructions
- Inspect the edges and seams. Seal any gaps using sealant or caulking.
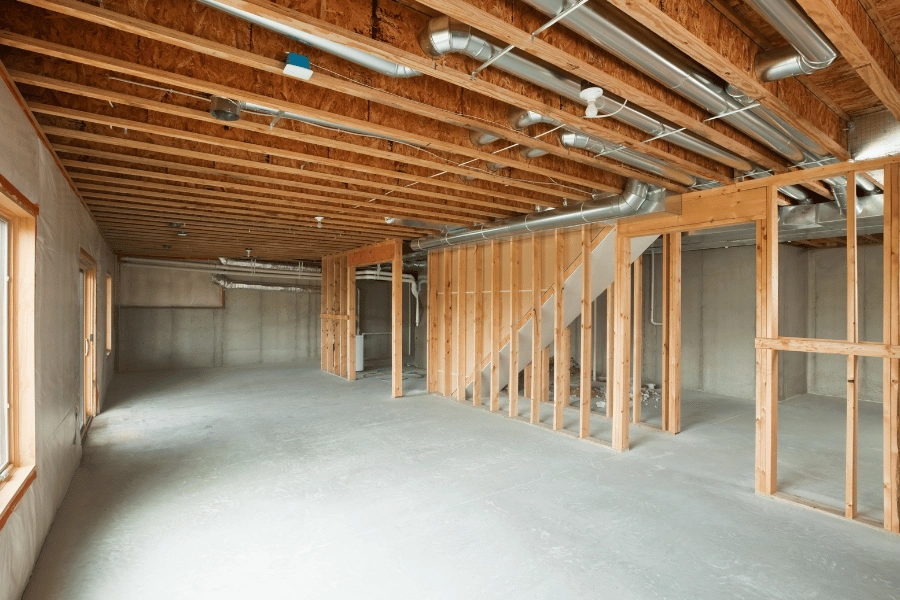
6. Frame the Walls
Framing the walls is the first step in making your basement look more like the rest of your home. The frame you create will provide a surface to attach drywall or other wall materials.
Here is how you will create and install wall framing:
- Plan the layout of your basement
- Gather necessary materials
- Cut the lumber to appropriate lengths according to your plan
- If you have a concrete floor, install pressure-treated lumber bottom plates along the perimeter of the wall and use concrete screws or anchors to secure the bottom plates
- Begin by constructing the wall frames on the basement floor by laying out the lumber and space the stubs at regular intervals, then use the framing square to ensure the corners are square
- Carefully lift wall frames into position and secure the base plate on the concrete floor using the masonry drill, nails, and a hammer. You can use a stepladder to attach the top plate to the blocking and use the framing nailer
- If you have doors or windows in the basement, you will need to frame the openings as well
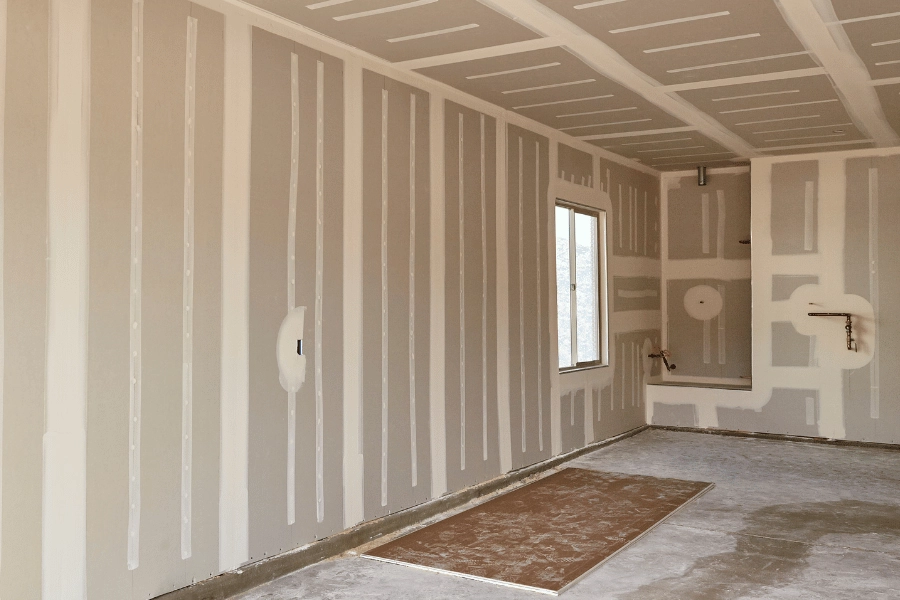
7. Install Drywall
Hanging drywall is the last step before you start painting and getting ready to finish the place. Before you start hanging the drywall, measure the locations and dimensions so you can cut out access holes once your drywall is in place.
You will have the option of hanging the drywall vertically or horizontally, although hanging horizontally is the most common and will result in an overall more straightforward process. Here is how to hang and install drywall:
- Measure each piece of drywall so they will end at a stud, and trim off the excess with a utility knife.
- Secure the drywall to the stud with drywall screws and a drill, ensuring not to tear the surface of the drywall paper with the screw heads.
- Use sheet rocking tape to cover seams, then mud over seams and any screw head
- If you plan to paint, sand where the mud was placed.
This is a straightforward step. However, it is essential to take your time and be precise because you will eventually see results.
8. Install the Ceiling
Now that your walls are finished, you must work on the ceiling. You can opt to leave your ceiling unfinished. However, you may experience noise or some insulation issues in the long run.
If you want to install ceilings, you have a lot of different choices. Here are some of the most common choices to choose from:
Drop Ceiling
A drop ceiling is a secondary ceiling suspended from the existing structure. It usually consists of a metal or plastic grid system into which ceiling panels are inserted, creating a finished ceiling surface.
Drop ceilings feature removable panels, making them ideal for homeowners needing access to electrical or plumbing systems above the ceiling. They are typically easy to install and often created using a kit.
Drywall Ceiling
The drywall ceiling is similar to installing drywall on the walls. The hardest part of this process is managing the weight of the drywall panels while standing on an elevated surface. Working with someone else will make this easier.
Before starting, ensure the ceiling hoists are correctly spaced and attached. You will then plan the layout of the panes to align to the right. Working with someone will make it easier, or you may use lightweight drywall panels if you are alone. Make sure you apply primer before you paint, just like the walls.
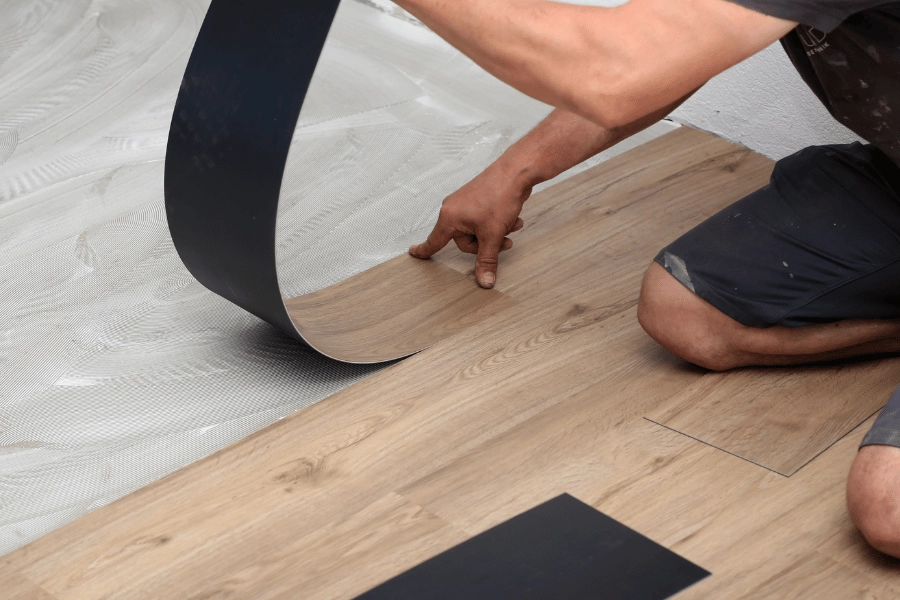
9. Finish the Floor
You may finish the floor whenever you want, but doing it last can help avoid damage from other building materials. Installing a subfloor before the flooring is the best way to increase warmth and keep moisture out. Here are steps to follow when you are creating a subfloor and finishing the flooring:
- Examine the floor for hills or dips. Fill dips deeper than 3/16th of an inch with a self-leveling compound, and make sure you let that dry per instructions
- Attach polystyrene insulation to the cement using adhesive
- Install sheets of plywood over the installation and secure with masonry screws
- Install the chosen flooring materials by following the instructions
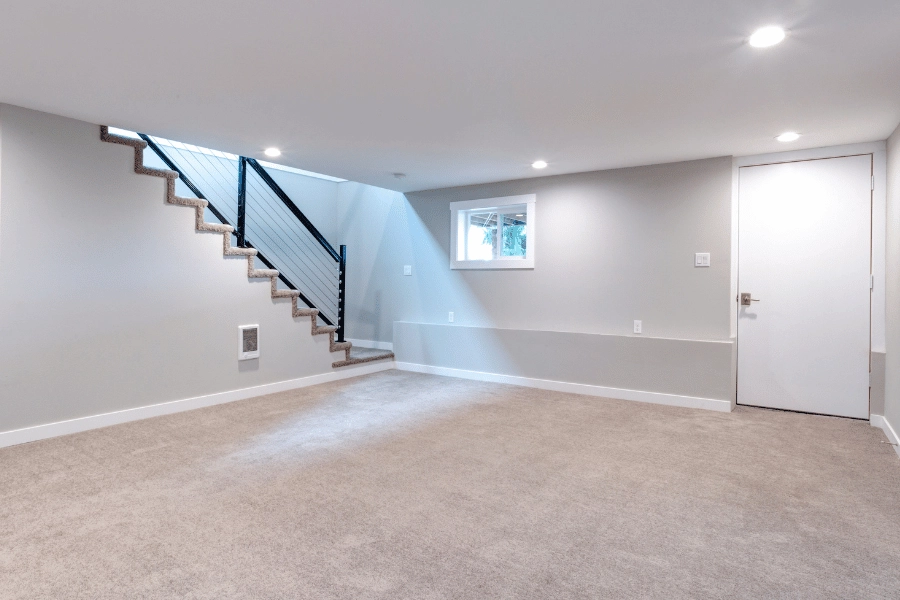
10. Decorate the Space
The most anticipated part of the project is decorating the space. With your basement finally finished, you now have a brand-new room in your home, and you can decide how to use it.
Whether you create a home office, a theater, a gym, or a game room, you'll need to add furniture, decorations, lighting, and personal touches to make the space your own. You may need to consider additional renovations if you plan to use the room for specific purposes, like a home theater.
Methodology
We created this guide using information from various sources and our data to describe the step-by-step process of finishing a basement.
We used the following sources to gather most information on finishing a basement.
FAQS
What is the hardest thing to do when finishing a basement?
The most challenging aspect of finishing a basement is inspecting for cracks in the foundation, ensuring proper insulation, and checking ventilation.
Is it possible to finish a basement alone?
Basement finishing is a complex task that requires an advanced level of DIY experience. If you are comfortable working with all these things, you can finish the job without professional help.
What is the most expensive part of finishing a basement?
The most significant expense in basement finishing is typically the labor cost, particularly for plumbing and electrical work. Hiring professionals to ensure these systems are safe and comply with building codes is crucial for the project's success.
How much value does a finished basement add?
Finishing a basement can result in a return on investment of up to 70%. Home buyers prefer houses with finished basements and may be willing to increase their offer for recently remodeled ones, adding value by providing additional living space.

How To Finish a Basement: A Step-by-Step Guide - The Bottom Line
Understandably, many homeowners are eager to maximize their living space, especially during challenging times in the housing market. In addition to considering a basement renovation, remodeling your attic can add valuable, usable space to your home.
While transforming your basement may seem like a significant investment, the overall cost will depend on your needs and aspirations. Nevertheless, investing in a finished basement can enhance your home's value and potentially reduce energy expenses, making it a smart choice when possible.
Regardless of your plans, finishing your basement is an excellent way to boost your property's value and create additional living space for your family to enjoy.
If you are considering moving or selling, contact us or visit our website. Our team at Raleigh Realty is here to help you with any home buying or selling needs.